Install Synkronus Server
Setting up the server is often the hardest part of getting started with Synkronus. Once the server is running, the rest of the system becomes much easier to work with.
We don't recommend any particular hosting provider. Any VPS or VM that can run Linux and containers is fine. This guide is written for a generic Linux server. If you need to create a new server and want a concrete example, we show DigitalOcean in the next section—use it if you like, or skip it and follow the rest of the steps on your own machine or provider.
This setup is not intended for production use. Later guides cover custom domains, proper TLS, backups, logging, and production patterns. Here the goal is simply to get a working server running quickly.
You will need:
- A machine running Linux (we use Ubuntu 24.04 LTS in the examples)
- At least 1–2 GB RAM (enough for PostgreSQL and Synkronus)
- Root or sudo access to install packages and run containers
Example: Create a VPS on DigitalOcean
If you already have a server, skip to Install required tools.
If you want to create a new VPS and are happy to use DigitalOcean:
- Create a DigitalOcean account and go to Droplets → Create Droplet.
- Choose:
- A datacenter location close to you
- Ubuntu 24.04 LTS
- Shared CPU / 1 GB RAM
At the time of writing this costs about $6 USD per month.
When the droplet is created, note the public IPv4 address.

Click Console to open the server terminal, then continue with the steps below.
Install required tools
On your Linux server, install the required packages.
We use Podman instead of Docker to keep the stack fully open source. Podman is daemonless, OCI-compatible, maintained by Red Hat, and largely CLI-compatible with Docker. For workloads like Synkronus it works very well.
sudo apt update
sudo apt install -y podman podman-compose git
Clone the quickstart repository
Clone the Synkronus quickstart repository and run the installer.

git clone --depth 1 https://github.com/OpenDataEnsemble/synkronus-quickstart.git server
cd server
chmod +x ./install.sh
./install.sh
During installation you will be asked:
Do you have a domain name pointing to this server? (y/n)
If you do not have a domain, answer n, then enter the server's public IP when prompted.
The installer will configure access using:
https://<your_ip>.sslip.io
This hostname resolves to your IP and works with automatic TLS.
Bring the server online
Start the containers:
podman compose up -d
The first startup may take a minute while images are downloaded.
Check that everything is running:
podman ps
Access the Synkronus Portal
Once the containers are running, open your browser and go to:
https://<your_ip>.sslip.io
You should see the Synkronus Portal login screen.
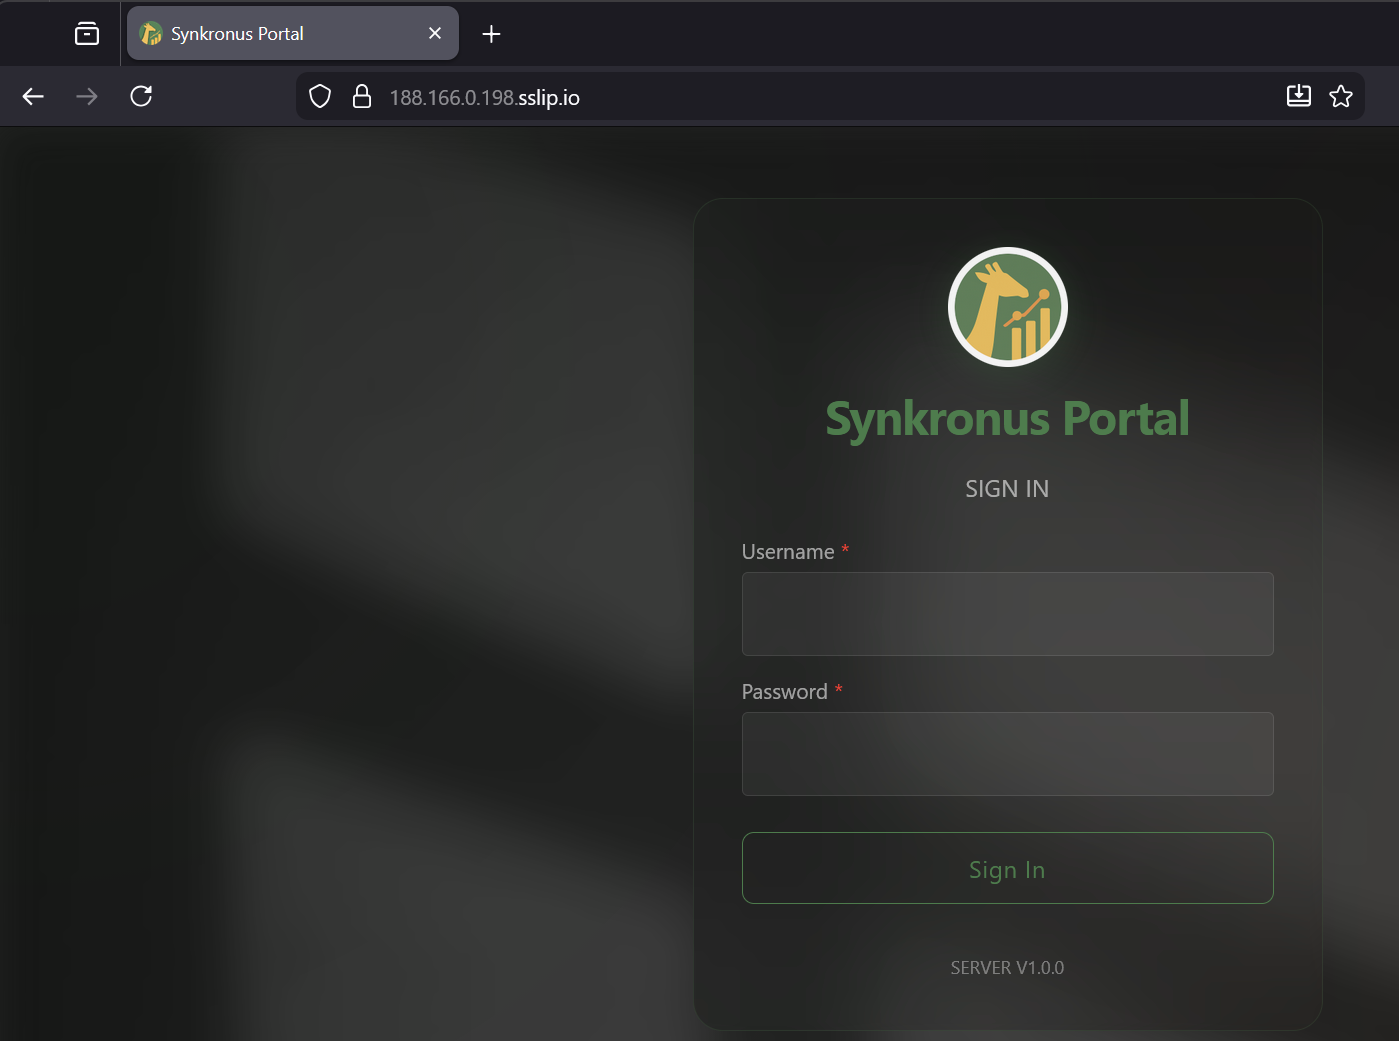
Use the admin username and password printed by the installer.
TLS and HTTPS
Synkronus uses Caddy as a reverse proxy. Caddy automatically
provisions TLS certificates via Let's Encrypt, handles HTTPS, and
forwards requests to the Synkronus server. With sslip.io, certificates
are issued automatically.
For this to work, the server must be reachable from the internet on port 80 and port 443.
Sometimes Let's Encrypt validation fails on first boot if the server isn't yet reachable. If you see a certificate error in your browser, restart Caddy:
podman restart synkronus_caddy
After a short moment, HTTPS should work.
Create a user
After logging in with the admin account, create a user for your client applications (e.g. Formulus):
- Open the Users tab.
- Click + Create User.
- Assign Read/Write permissions.
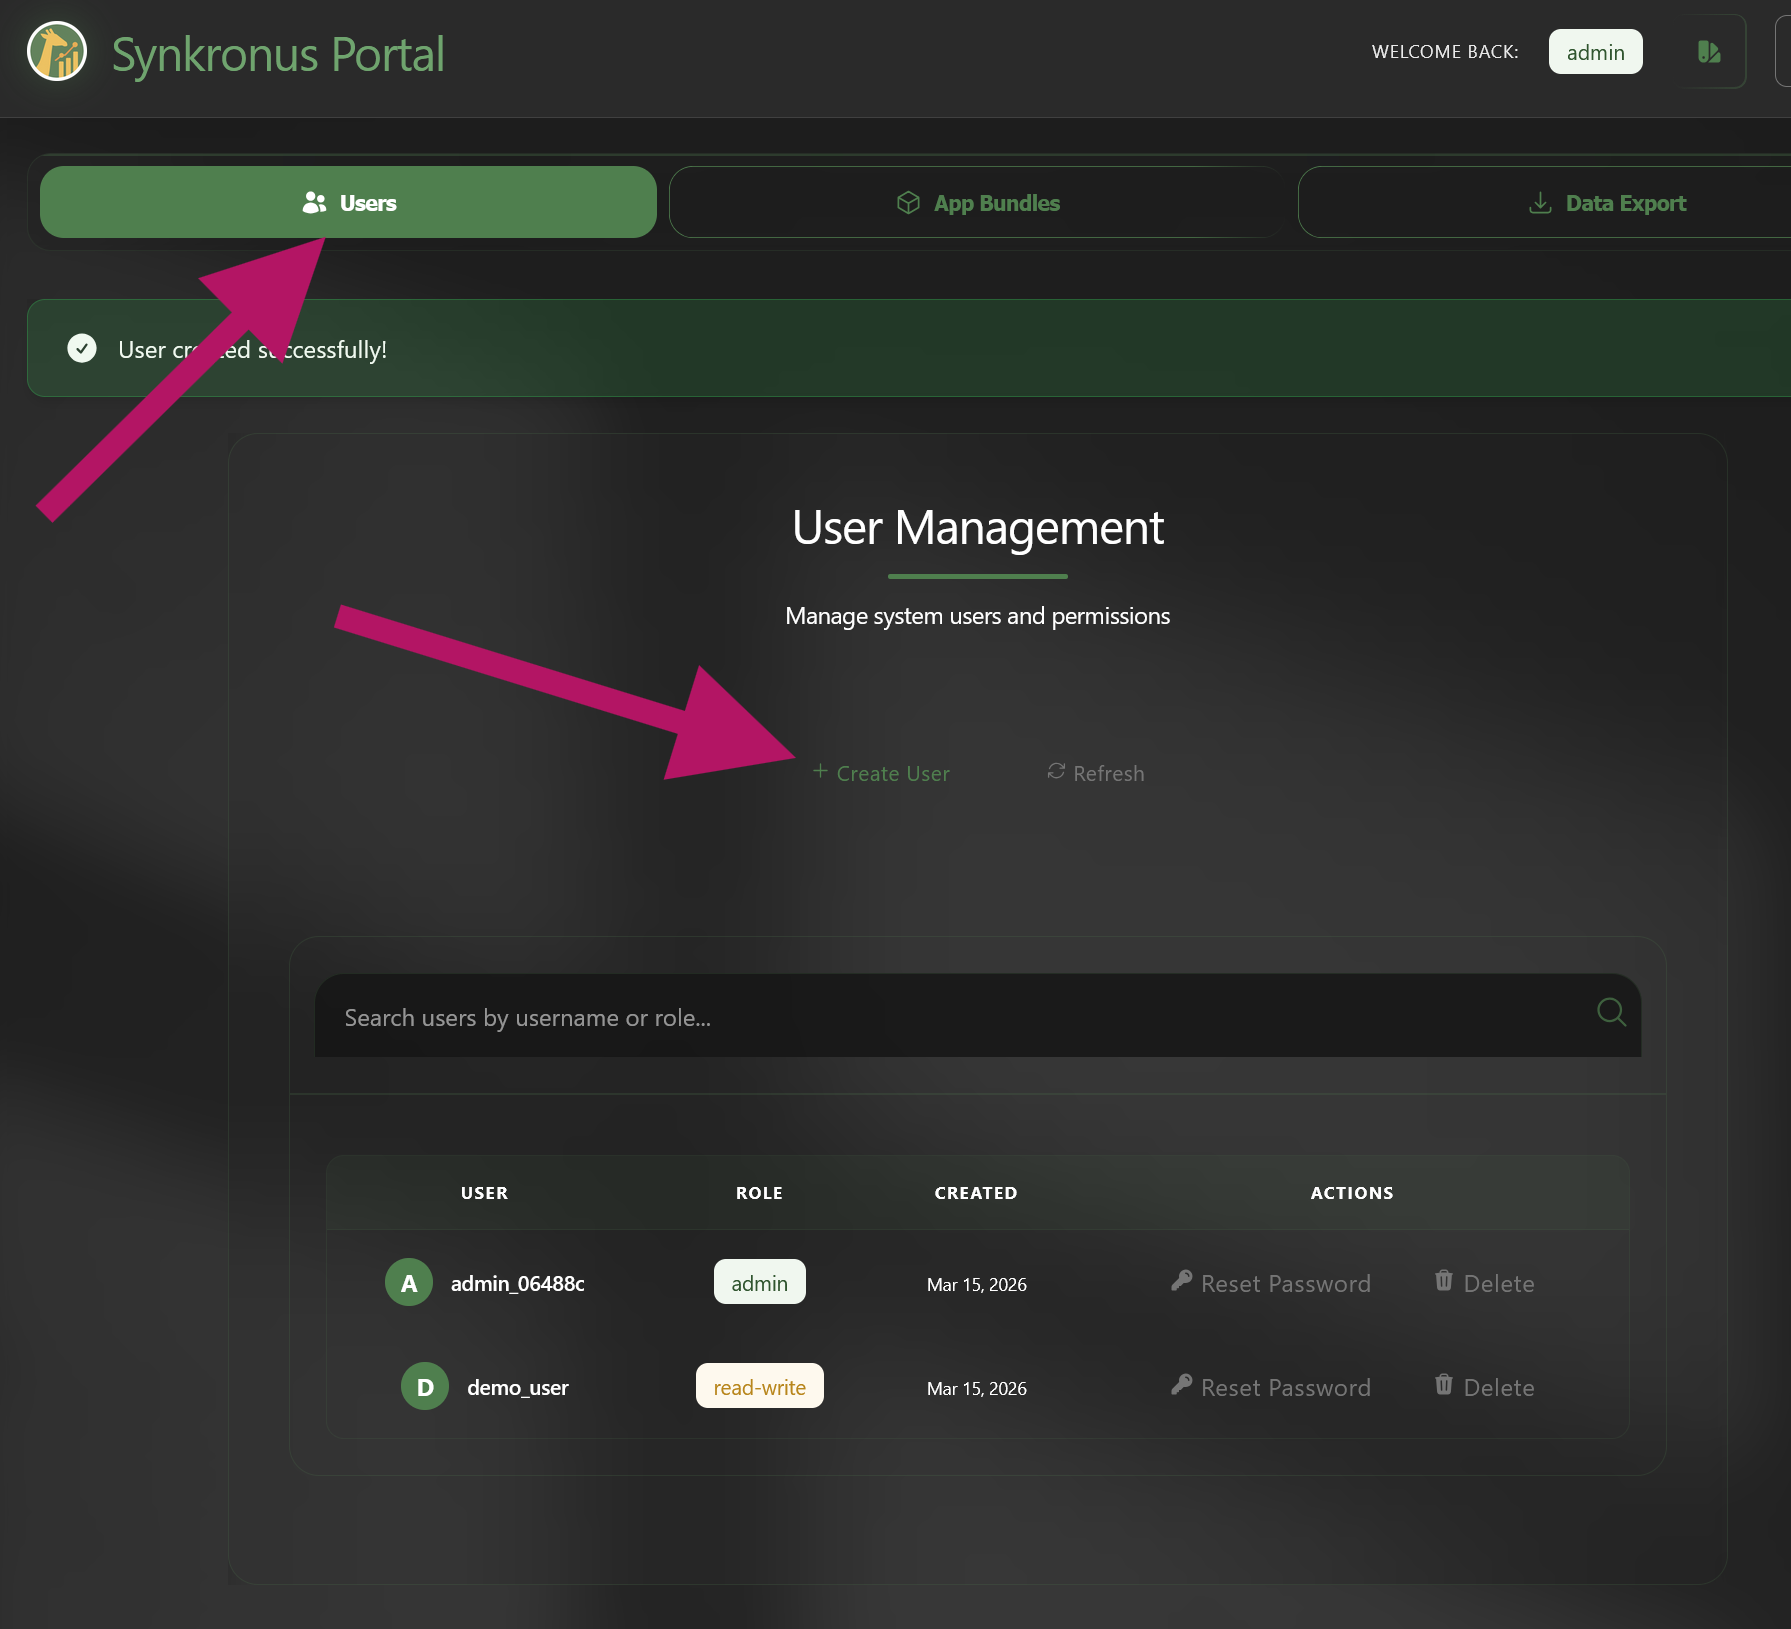
This user can now be used by Synkronus clients such as Formulus.
Alternative networking setups
If you already run a tunnel service (e.g. Cloudflare Zero Trust tunnels), you can skip automatic TLS. When prompted for the public IP during installation, enter localhost. Caddy will run locally without provisioning certificates, and your tunnel can handle HTTPS externally.
Your Synkronus server is now running.